Google Apps are a fantastic and free way to improve communication in schools. This article assumes that you have set up Google Apps in your school. If you haven’t got it set up yet, the following web site will get you going: http://www.google.com/a/help/intl/en/edu/index.html
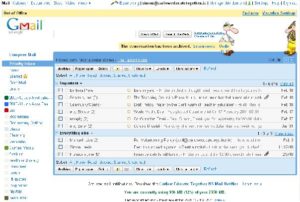
I always start my Google Apps experience in Gmail as I find it easier to get to where I want to go. To get there, go to http://www.gmail.com and type in your username (SOMEBODY@DOMAIN_NAME.ie) and your password.
Once you’re logged in, look at the very top of the screen and you’ll see a list of options: Mail, Calendar, Documents, Sites, Video, More.
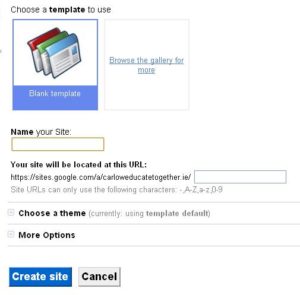
Click on the link that says “Sites”. A new window should open up and you’ll need to click on the button that says “Create New Site”. You’ll be greeted with the screen below.
You should now fill in the details for your Virtual Noticeboard Site. (You can incorporate the noticeboard into a full site but for these purposes, we’ll just create a site with a noticeboard and that’s it.)
In my example, I named the site “Simon’s Virtual Noticeboard” and Google automatically gave me a rather long-winded URL. By clicking on the little “plus” sign beside the title “Choose a theme”, I was able to pick a theme for my noticeboard. (I chose “Schoohouse”)
There are other options, but I decided to go ahead and clicked the button at the bottom: “Create site.”
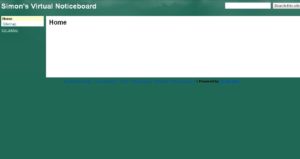
The following screen greeted me:
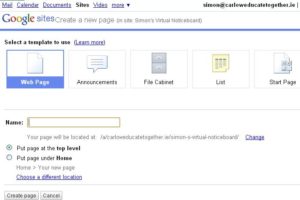
Not very exciting, is it? I’ll now need to add in my noticeboard. To do this, I’m going to have to create a noticeboard page. Look in the top right hand side of the screen and you’ll see a button called “Create page” Click on this and the new page creator will appear.
Click on the Announcements picture and choose a name for the page. Anything will do here. Next click the “Create Page” button. Automatically, your noticeboard will appear on your web site and it’s ready to go.
Now you’re going to need to let other people know the link they need to access it. In the top right section, there should be a button called “More Actions.” Click this and a menu will drop down. You’ll need to select: “Share this Site.”
Copy and paste the link of the web site. You’ll also see that you can add email addresses that have permission to use the noticeboard. I always select Everyone at my domain as it allows anyone in my school to access the noticeboard.
To use the virtual noticeboard, users can simply click the “Add New Post” and type in their announcement. Once they have typed it in and posted it, other users can reply and it very quickly fills up with lots of information.
We’ve completely scrapped our staffroom’s noticeboard and use this instead. We’ve found that it allows all people to post anything up – including stuff that wouldn’t necessarily go on a traditional staffroom whiteboard – for example: links to videos, web sites or even jokes! The facility to reply to notices gives it a much more interactive feel, which is excellent. We also found that everybody felt welcome to post things up on the noticeboard and it killed the hierarchy which can inadvertently occur with traditional staffroom boards.
I hope this tutorial has helped somewhat. If not you can hire javascript developer to help you understand the process. Since using it, we haven’t looked back. Everybody in the school has posted at least one thing to the board in the last year and some post something every day.
Last Update: February 24, 2021


